Questions asked in this article?
What are the 4 client statuses in Therabyte?
Where can I view the 4 client statuses?
What is the purpose of the On Hold feature?
How do I change an Active client to an On Hold client?
How do I change an On Hold client back to Active?
Related Article:
What are the 4 client statuses in Therabyte?
- Active
Clients currently receiving services and engaged in ongoing sessions with active treatment plans. You may move an Active client to On Hold or Discharged when needed. - On Hold
Clients who are temporarily taking a break from therapy but plan to return in the future.
They currently do not have scheduled sessions and may be dealing with temporary personal circumstances. - Discharged
Clients who have completed their goals or chosen to end services.
If they return, you can either reactivate them or permanently delete their details. - Waitlist
Clients who have indicated a need for services but are not receiving them yet.
Their details are automatically placed on the Waitlist when they are first added.
How to discharge a client?
- Please refer to this article: Discharging a Client
How do I reactivate a discharged client?
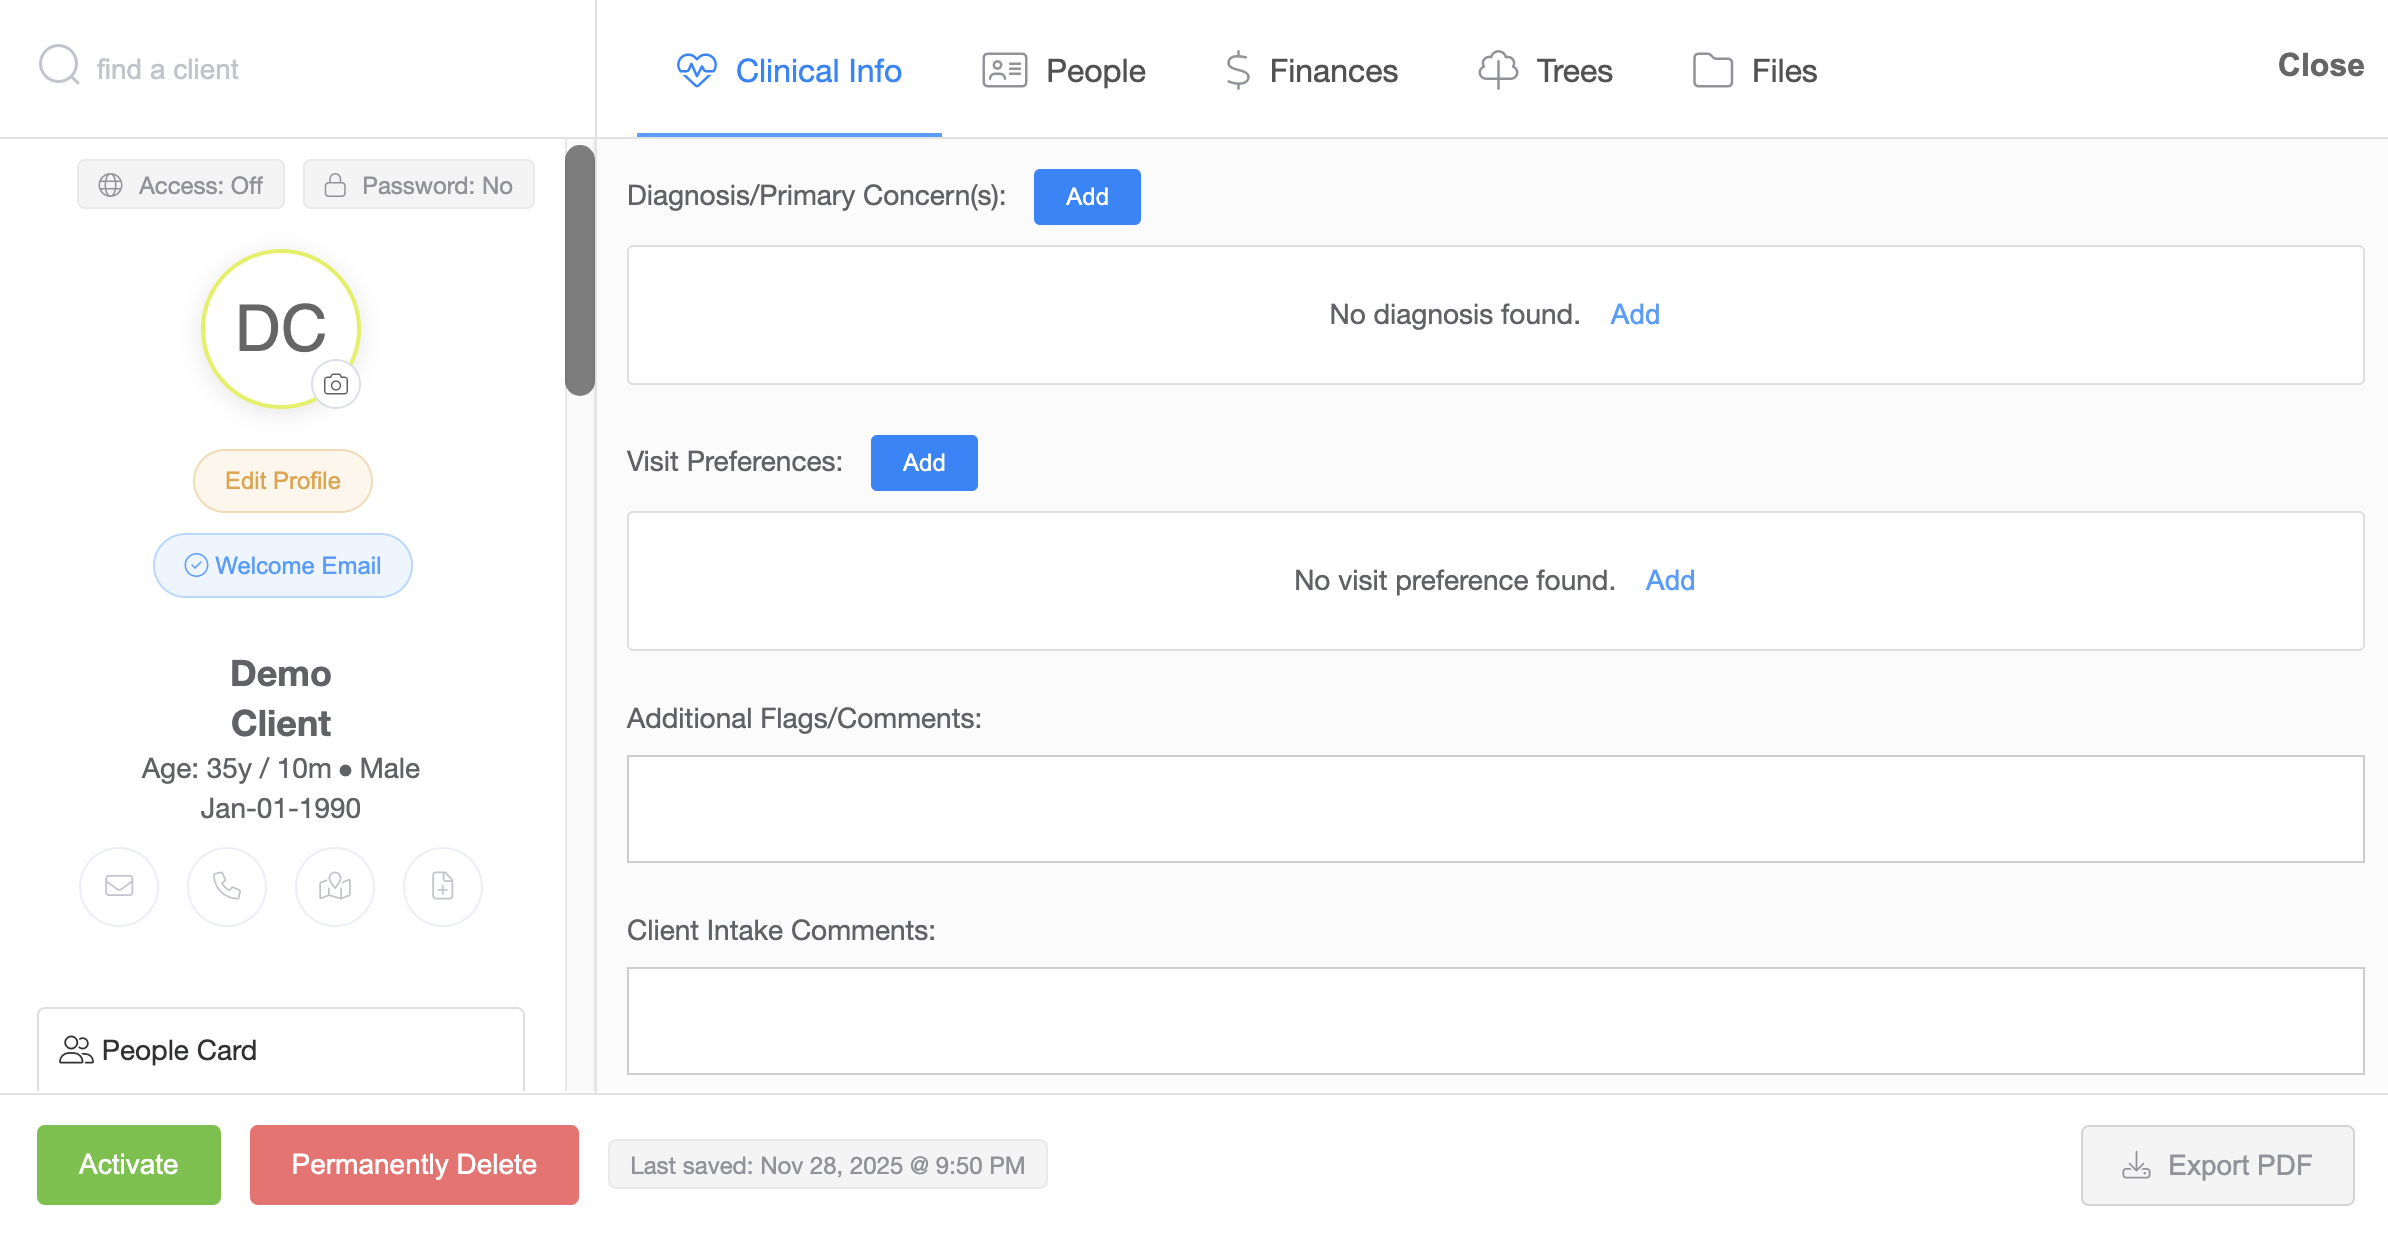
- Go to the Discharged tab and click the client’s name.
- Click the Activate button.
- Confirm the activation. The client will move back to the Active list.
How to onboard a waitlisted client:
- Please refer to this article: Onboarding a client from the waitlist
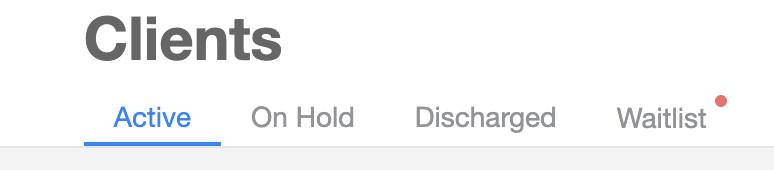
Where can I view the 4 client statuses?
- Navigate to My Office on the left side of your screen.
- Select Clients to access all four status tabs.
What is the purpose of the On Hold feature?
The On Hold feature helps you manage clients who are temporarily pausing services but intend to return. It keeps your Active client list accurate while allowing you to easily reactivate them later.
How to change an Active client to On Hold
- Log in to your Therabyte account and go to the Clients tab.
- In the Active list, choose the client you want to put on hold and click On Hold.
- A confirmation pop-up will appear. Click to confirm.
- The client will move automatically to the On Hold tab.
How to change an On Hold client back to Active
- Open the client’s profile from the On Hold tab.
- Click the Activate button.
- Confirm the activation, and the client will return to the Active list.